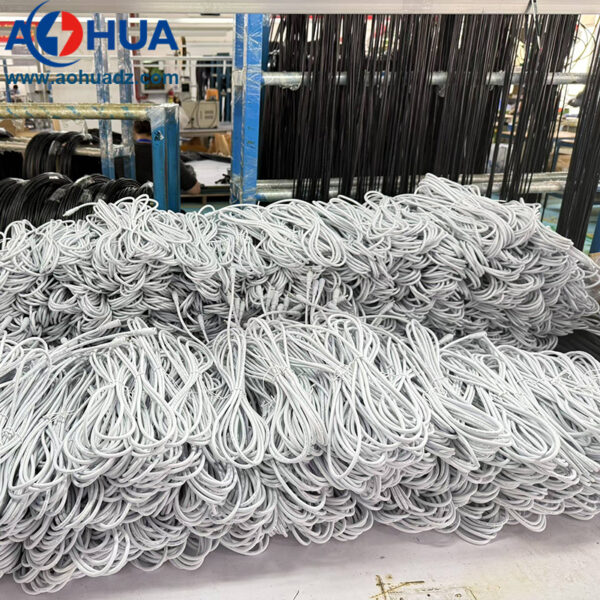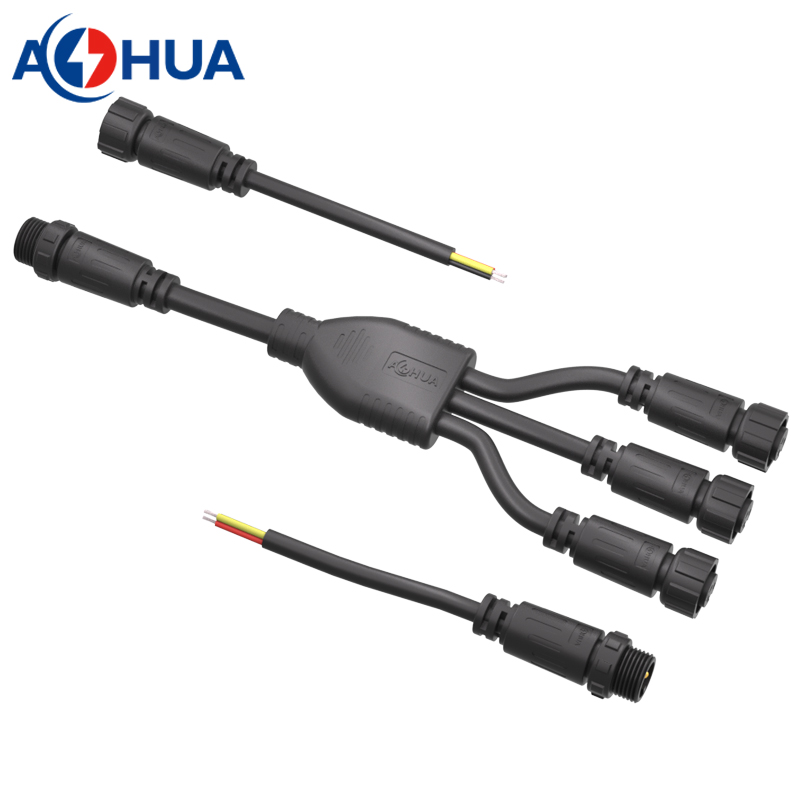


Mastering the Craft: Wire Processing for Waterproof Connectors
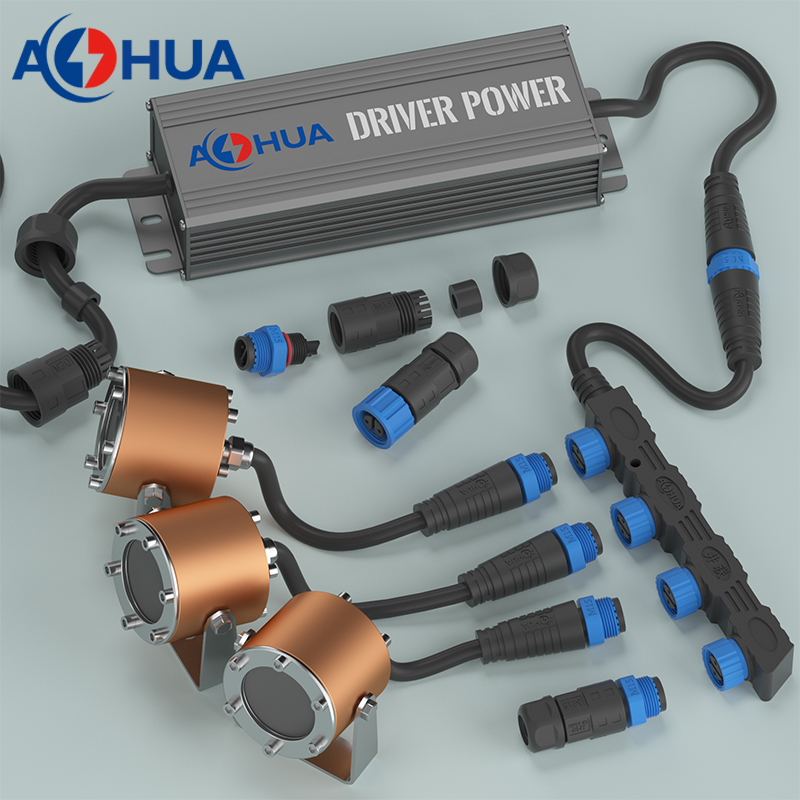
In demanding environments where moisture, dust, chemicals, or extreme temperatures threaten electrical integrity, standard connectors simply won’t suffice. Waterproof connectors, defined by their IP (Ingress Protection) ratings (like IP67, IP68, IP69K), are the guardians of reliability. However, their effectiveness hinges entirely on one critical factor: precise wire processing. Cutting corners here negates the connector’s engineered protection. Here’s why and how to get it right.
Why Precision is Paramount:
Unlike standard connectors where minor imperfections might be tolerable, waterproof connectors rely on a complex interplay of seals, precise cavity filling, and correct conductor termination to achieve their rating. Poor wire processing directly compromises these elements:
-
Damaged Seals: Over-stripping, nicking the conductor, or using incorrect wire gauges can tear or deform delicate internal seals (grommets, O-rings) during insertion.
-
Incomplete Sealing: Incorrectly crimped terminals may not fill the connector cavity properly, leaving voids where moisture can migrate via capillary action. Under-filled potting (if used) has the same effect.
-
Corrosion Pathways: Exposed wire strands (from under-stripping), flux residue, or contaminants left on the wire can wick moisture under the insulation or into the terminal barrel, leading to corrosion and failure.
-
Mechanical Weakness: Improper crimps are weak points prone to vibration failure, potentially breaking the connection and breaching the seal.
The Essential Steps for Waterproof Connection Success:
-
Preparation is Key:
-
Tools: Use calibrated, ratcheting crimpers specifically matched to the terminal type and wire gauge. Invest in precision strippers (auto-adjusting or laser-calibrated) to avoid nicking strands. Have isopropyl alcohol (IPA) and lint-free wipes ready.
-
Materials: Use only the connector manufacturer-specified terminals, seals (often pre-assembled on wires), and backshells/potting compounds. Verify wire gauge and insulation diameter compatibility.
-
Cleanliness: Wipe down wires and terminals with IPA immediately before processing to remove oils, dirt, or sweat.
-
-
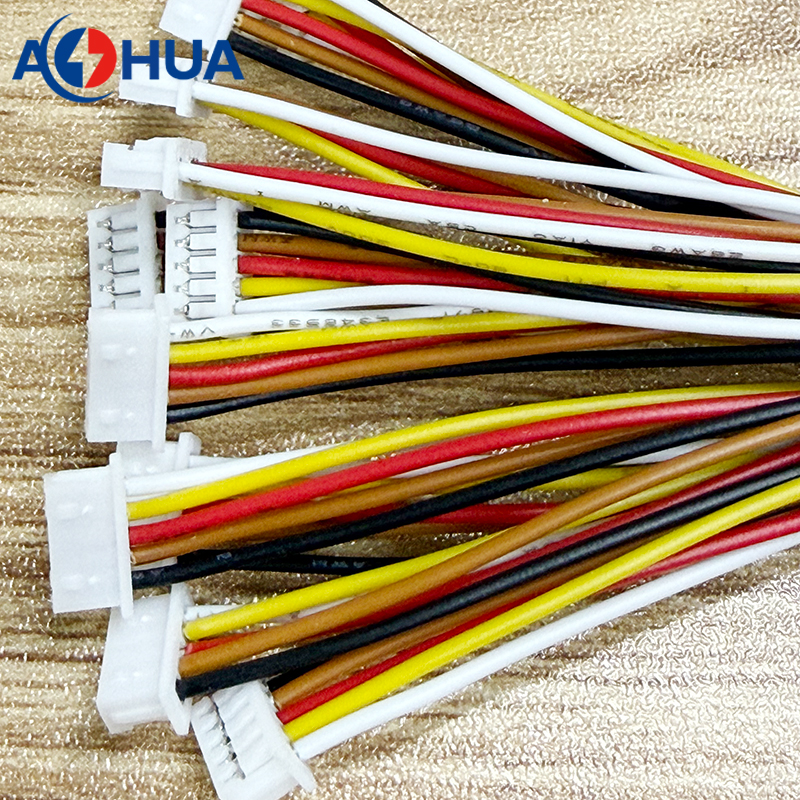
Precision Stripping:
-
Strip the insulation to the exact length specified by the terminal manufacturer. Under-stripping prevents proper crimp barrel contact; over-stripping exposes conductors that can snag seals or cause short circuits.
-
Critical: Absolutely avoid nicking or cutting any individual copper strands. Each nick is a potential corrosion initiation point and weakens the wire. Inspect stripped ends meticulously.
-
-
Terminal Crimping:
-
Select the correct die set for the terminal and wire gauge combination.
-
Insert the stripped wire fully into the terminal barrel until it bottoms out.
-
Place the terminal correctly in the crimper die and execute a full ratcheting cycle. The crimp should be centered on the barrel.
-
Inspect: A good crimp has smooth, symmetrical indentation. The wire insulation should sit snugly against the insulation crimp (if present), but not be crushed. Perform pull-force tests periodically.
-
-
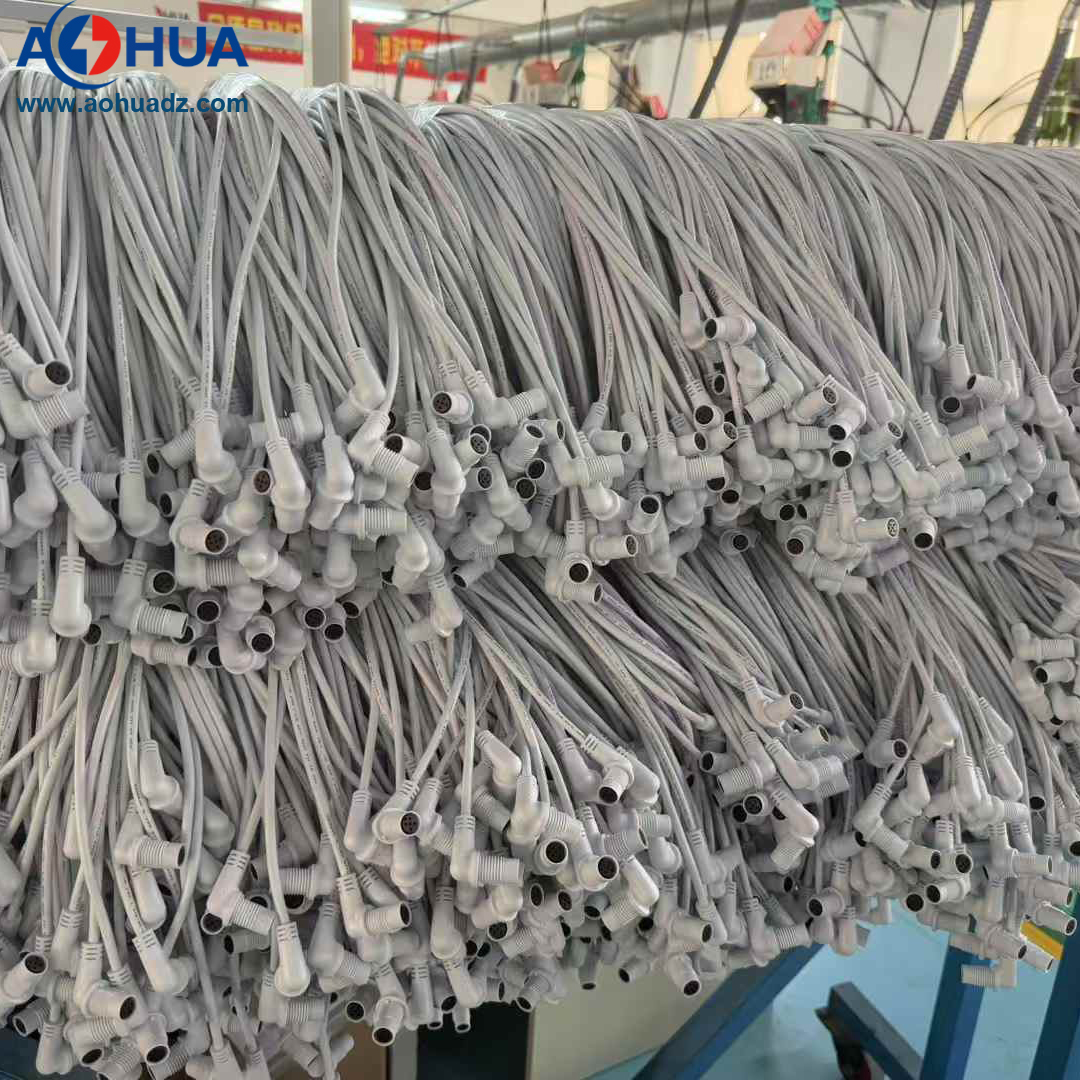
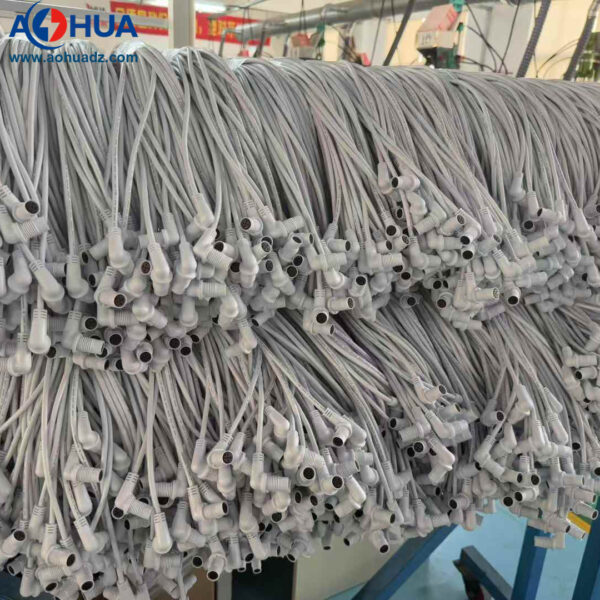
Seal & Terminal Insertion:
-
Handle Seals with Care: Ensure the correct seal (grommet, O-ring) is present on the wire before terminal insertion. Never lubricate seals unless explicitly instructed by the manufacturer (specific silicone greases might be used).
-
Correct Orientation: Many seals are directional (cup vs. cone shapes facing the environmental threat). Insert them the right way.
-
Smooth Insertion: Insert the terminated wire straight into its designated cavity in the connector housing. Feel for a smooth, positive engagement – excessive force indicates a problem (wrong terminal, damaged seal, misalignment). Ensure the terminal audibly clicks and locks into place.
-
-
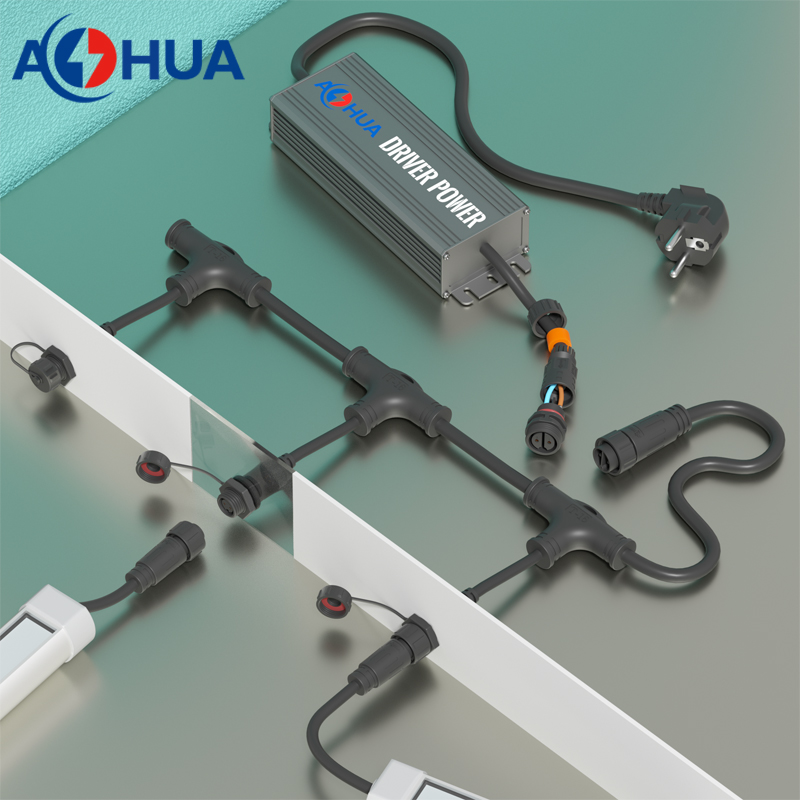
Housing Assembly & Sealing:
-
Follow the manufacturer’s sequence for assembling connector halves, adding external O-rings, coupling nuts, or boots.
-
Torque Matters: If specified, use a torque wrench on coupling rings or screws to achieve the correct compression on seals without damaging the housing.
-
Potting (if applicable): For multi-pin connectors or extreme environments, potting compound fills the rear cavity. Mix and inject precisely according to instructions, ensuring complete void-free filling and proper cure.
-
-
Verification and Testing:
-
Visual Inspection: Check for fully seated terminals, properly positioned and undamaged seals, and correct overall assembly.
-
Electrical Continuity: Verify continuity through each pin/socket.
-
Waterproof Testing: The gold standard is immersion testing per the relevant IP rating (e.g., 1 meter depth for 30 minutes for IP67). Air pressure testing can also be used for ingress detection.
-

Conclusion:
Wire processing for waterproof connectors isn’t just assembly; it’s a critical, precision craft. Every step, from selecting the right tools and materials to executing flawless stripping, crimping, and sealing, directly impacts the connector’s ability to survive harsh conditions. Skipping steps, using improper tools, or lacking attention to detail invites failure. By adhering to stringent procedures and manufacturer specifications, technicians ensure these vital connections deliver the unwavering reliability that critical applications demand, protecting both equipment and safety from the relentless challenges of moisture and contaminants. Invest the time upfront in perfect processing to avoid costly failures down the line.