

What is the Mold Manufacturing Process Connectors? A Step-by-Step Guide for Our Clients
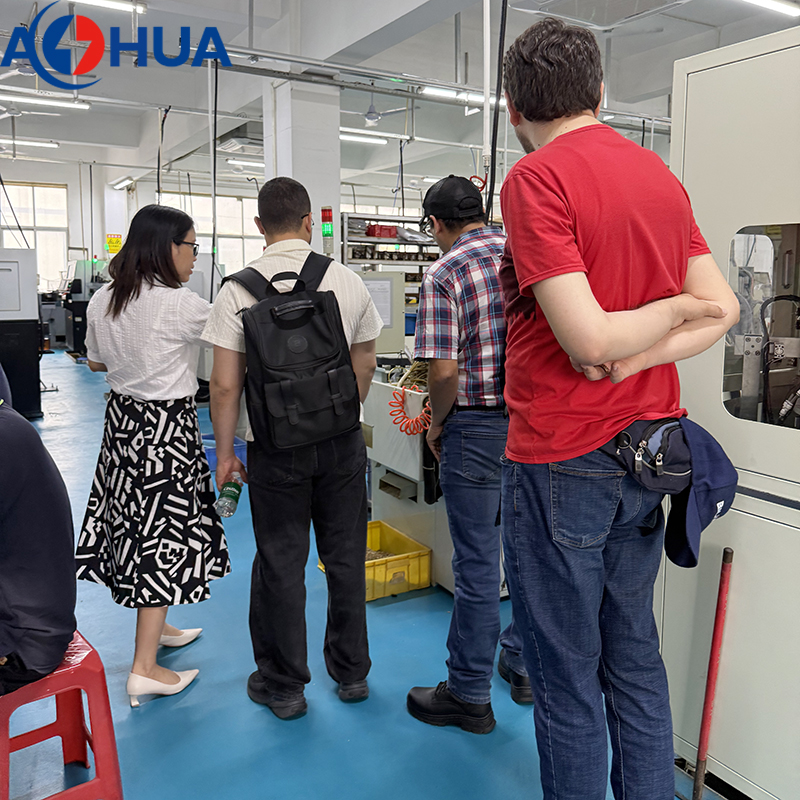
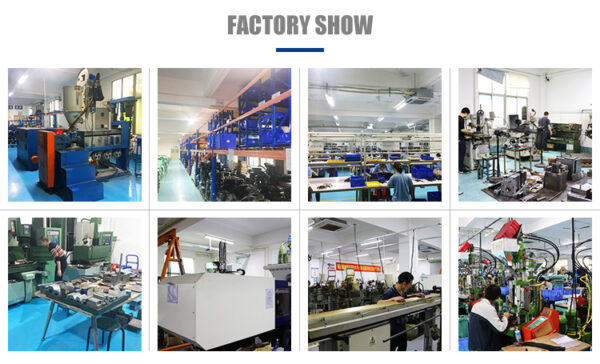
Perfect manufacturing process makes your production smoother. If you can make new mold by yourself, all the process should be more flexible and the delivery time should be shorter. And everything is under your control. AOHUA have cable & mold manufacture workshop, today, we will learn about how to make a new mold for our production.
Hello everyone, welcome. Let me walk you through our standard mold manufacturing process. We believe in transparency and close collaboration, so understanding these steps will show you how we ensure quality and efficiency from start to finish.”
Phase 1: Project Kick-off & Design Engineering
Step 1: Design for Manufacturability (DFM) Analysis
What we do: Our engineering team analyzes your 3D part design in detail. We check for any potential issues that could affect quality or production, such as wall thickness, sink marks, undercuts, and the best places for the plastic to enter the mold (gates).
Key Point for the Client: “This is a crucial collaborative step. We provide a DFM report to you with suggestions to optimize the part for a smoother, more cost-effective production. Your approval here sets the foundation for success.”
Step 2: Detailed Mold Design
What we do: Using advanced CAD software, we design the complete mold structure. This includes the cavity & core (which form your part’s shape), the cooling channels, the ejection system, and any moving components like sliders.
Key Point for the Client: “We will share the mold design with you for final review and approval before any steel is cut. This ensures the mold is built exactly to your specifications.”
Phase 2: Precision Machining
Step 3: Material Selection & Rough Machining
What we do: We select the appropriate grade of steel based on your production volume and material requirements. The steel blocks are then cut to a rough size.
Key Point for the Client: “We choose the mold material strategically to balance durability, performance, and cost, ensuring your mold has a long lifespan.”
Step 4: CNC Machining
What we do: Our Computer Numerical Control (CNC) mills and lathes precision-machine the steel blocks to create the basic forms of the mold plates, cavities, and cores.
Key Point for the Client: “CNC machining guarantees high precision and repeatability, which is essential for the consistency of your final parts.”
Step 5: Heat Treatment & Finishing
What we do: Critical components are heat-treated to increase their surface hardness and wear resistance. Afterward, they undergo precision grinding and EDM (Electrical Discharge Machining) for fine details and tight tolerances.
Key Point for the Client: “Heat treatment is what gives your mold its longevity, allowing it to withstand millions of cycles without significant wear.”

Phase 3: Finishing & Assembly
Step 6: Polishing & Texturing
What we do: The surfaces of the cavity and core are meticulously polished to a mirror finish or textured (e.g., leather, matte) as per your requirement.
Key Point for the Client: “This step directly defines the surface quality of your plastic parts. A high-quality polish or precise texture eliminates visual defects and adds value to your product.”
Step 7: Mold Assembly
What we do: All components—cavities, cores, ejector pins, sliders, and cooling fittings—are carefully assembled into the final mold base.
Key Point for the Client: “Our experienced technicians perform assembly in a clean, controlled environment. Every part is fitted and checked to ensure smooth operation.”
Phase 4: Quality Validation & Sampling
Step 8: Trial Run (T1) & Sample Molding
What we do: The assembled mold is mounted in an injection molding machine. We produce the first samples using the planned production material.
Key Point for the Client: “This is the most exciting part for you! We will send these initial samples to you for evaluation. This is your first look at a physical part from the new mold.”
Step 9: Evaluation & Fine-Tuning
What we do: We measure the samples against your CAD data and specifications. Based on the results, we may perform minor adjustments or fine-polishing on the mold.
Key Point for the Client: “We work closely with you during this phase. Your feedback on the samples is essential for us to make any final tweaks and achieve perfection.”
Step 10: Final Approval & Delivery
What we do: Once you approve the samples, the mold is finalized, cleaned, and prepared for shipment to your chosen production facility or ours.
Key Point for the Client: “Upon your final sample approval, the mold is ready for mass production. We ensure it is delivered on time and in perfect condition.”
So, as you can see, our process is built on precision, quality control, and most importantly, close partnership with you, the client. We are confident that this systematic approach will deliver a mold that exceeds your expectations. Now, I’d be happy to answer any questions you might have.
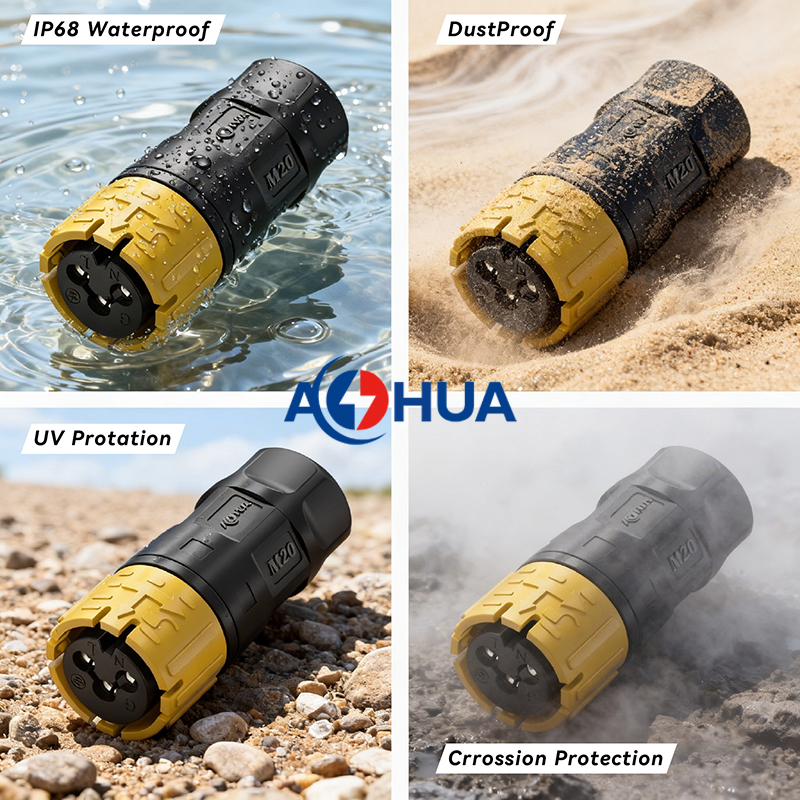
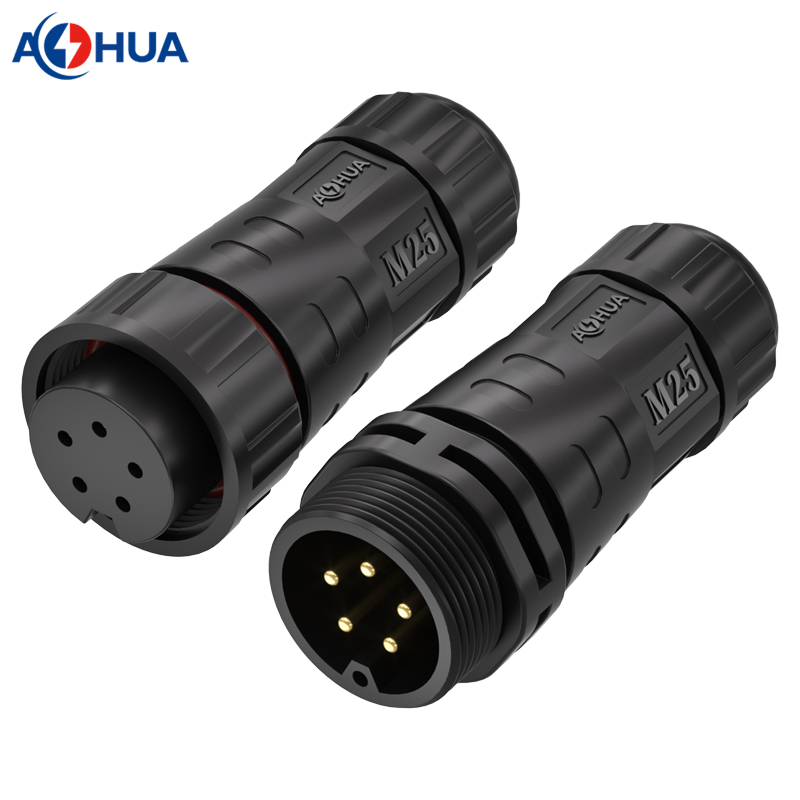
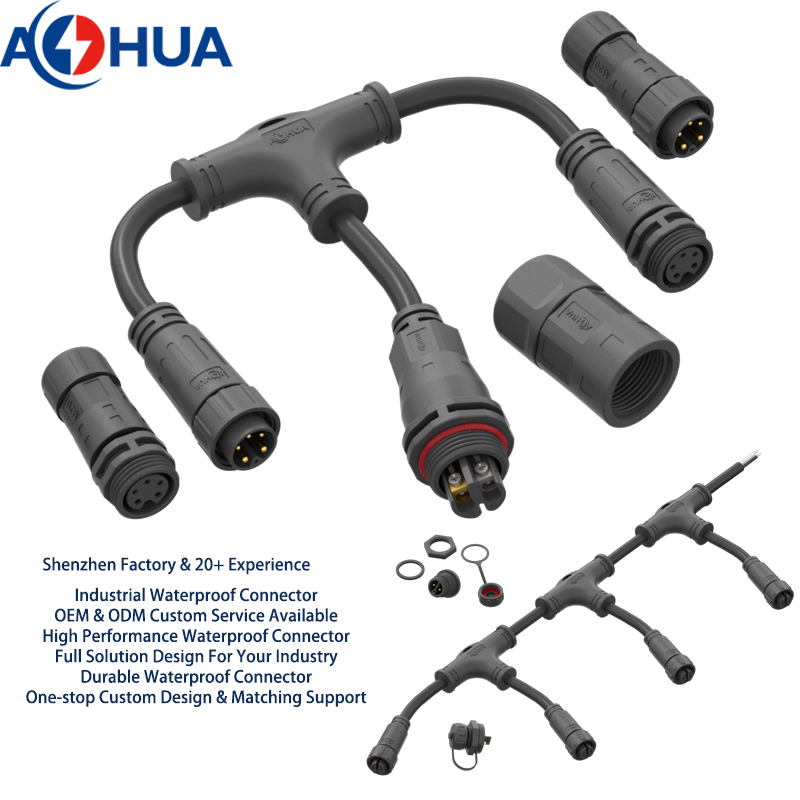
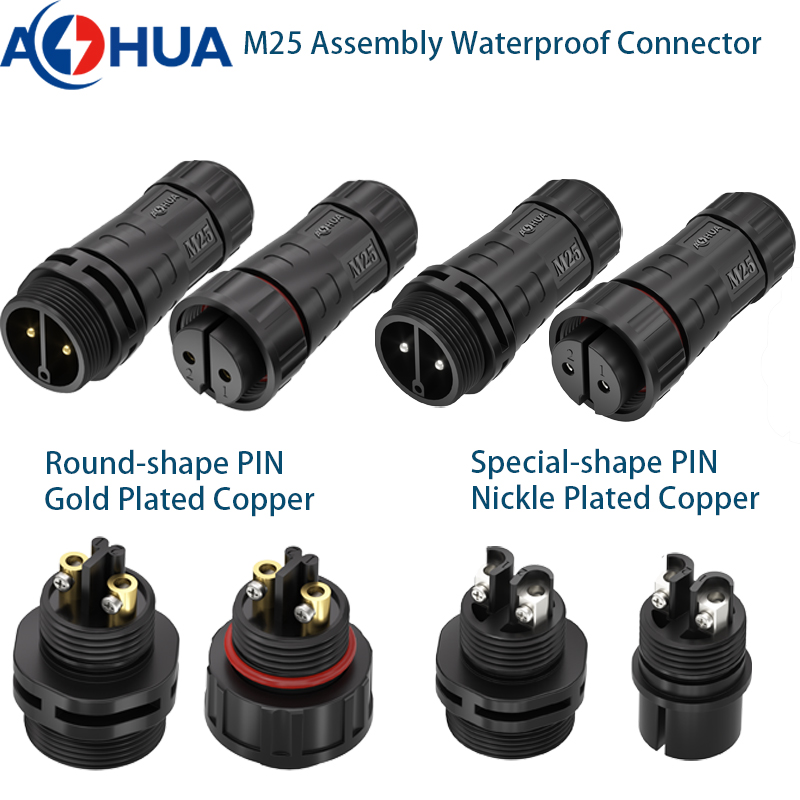
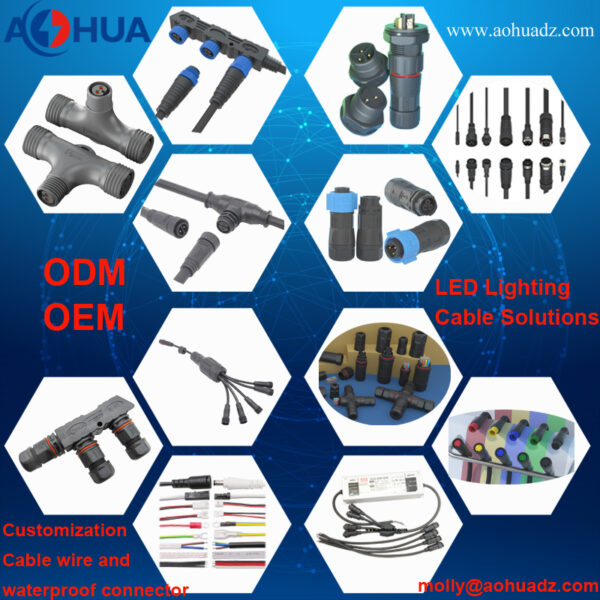
End of the article, but our trip start here. The customization of connectors is the most core competitiveness. You choose us, it means that you can change the connector as you need, and we can ensure the shortest delivery time. Go ahead: www.aohuadz.com.